
Celtic Wood Burning Tutorial

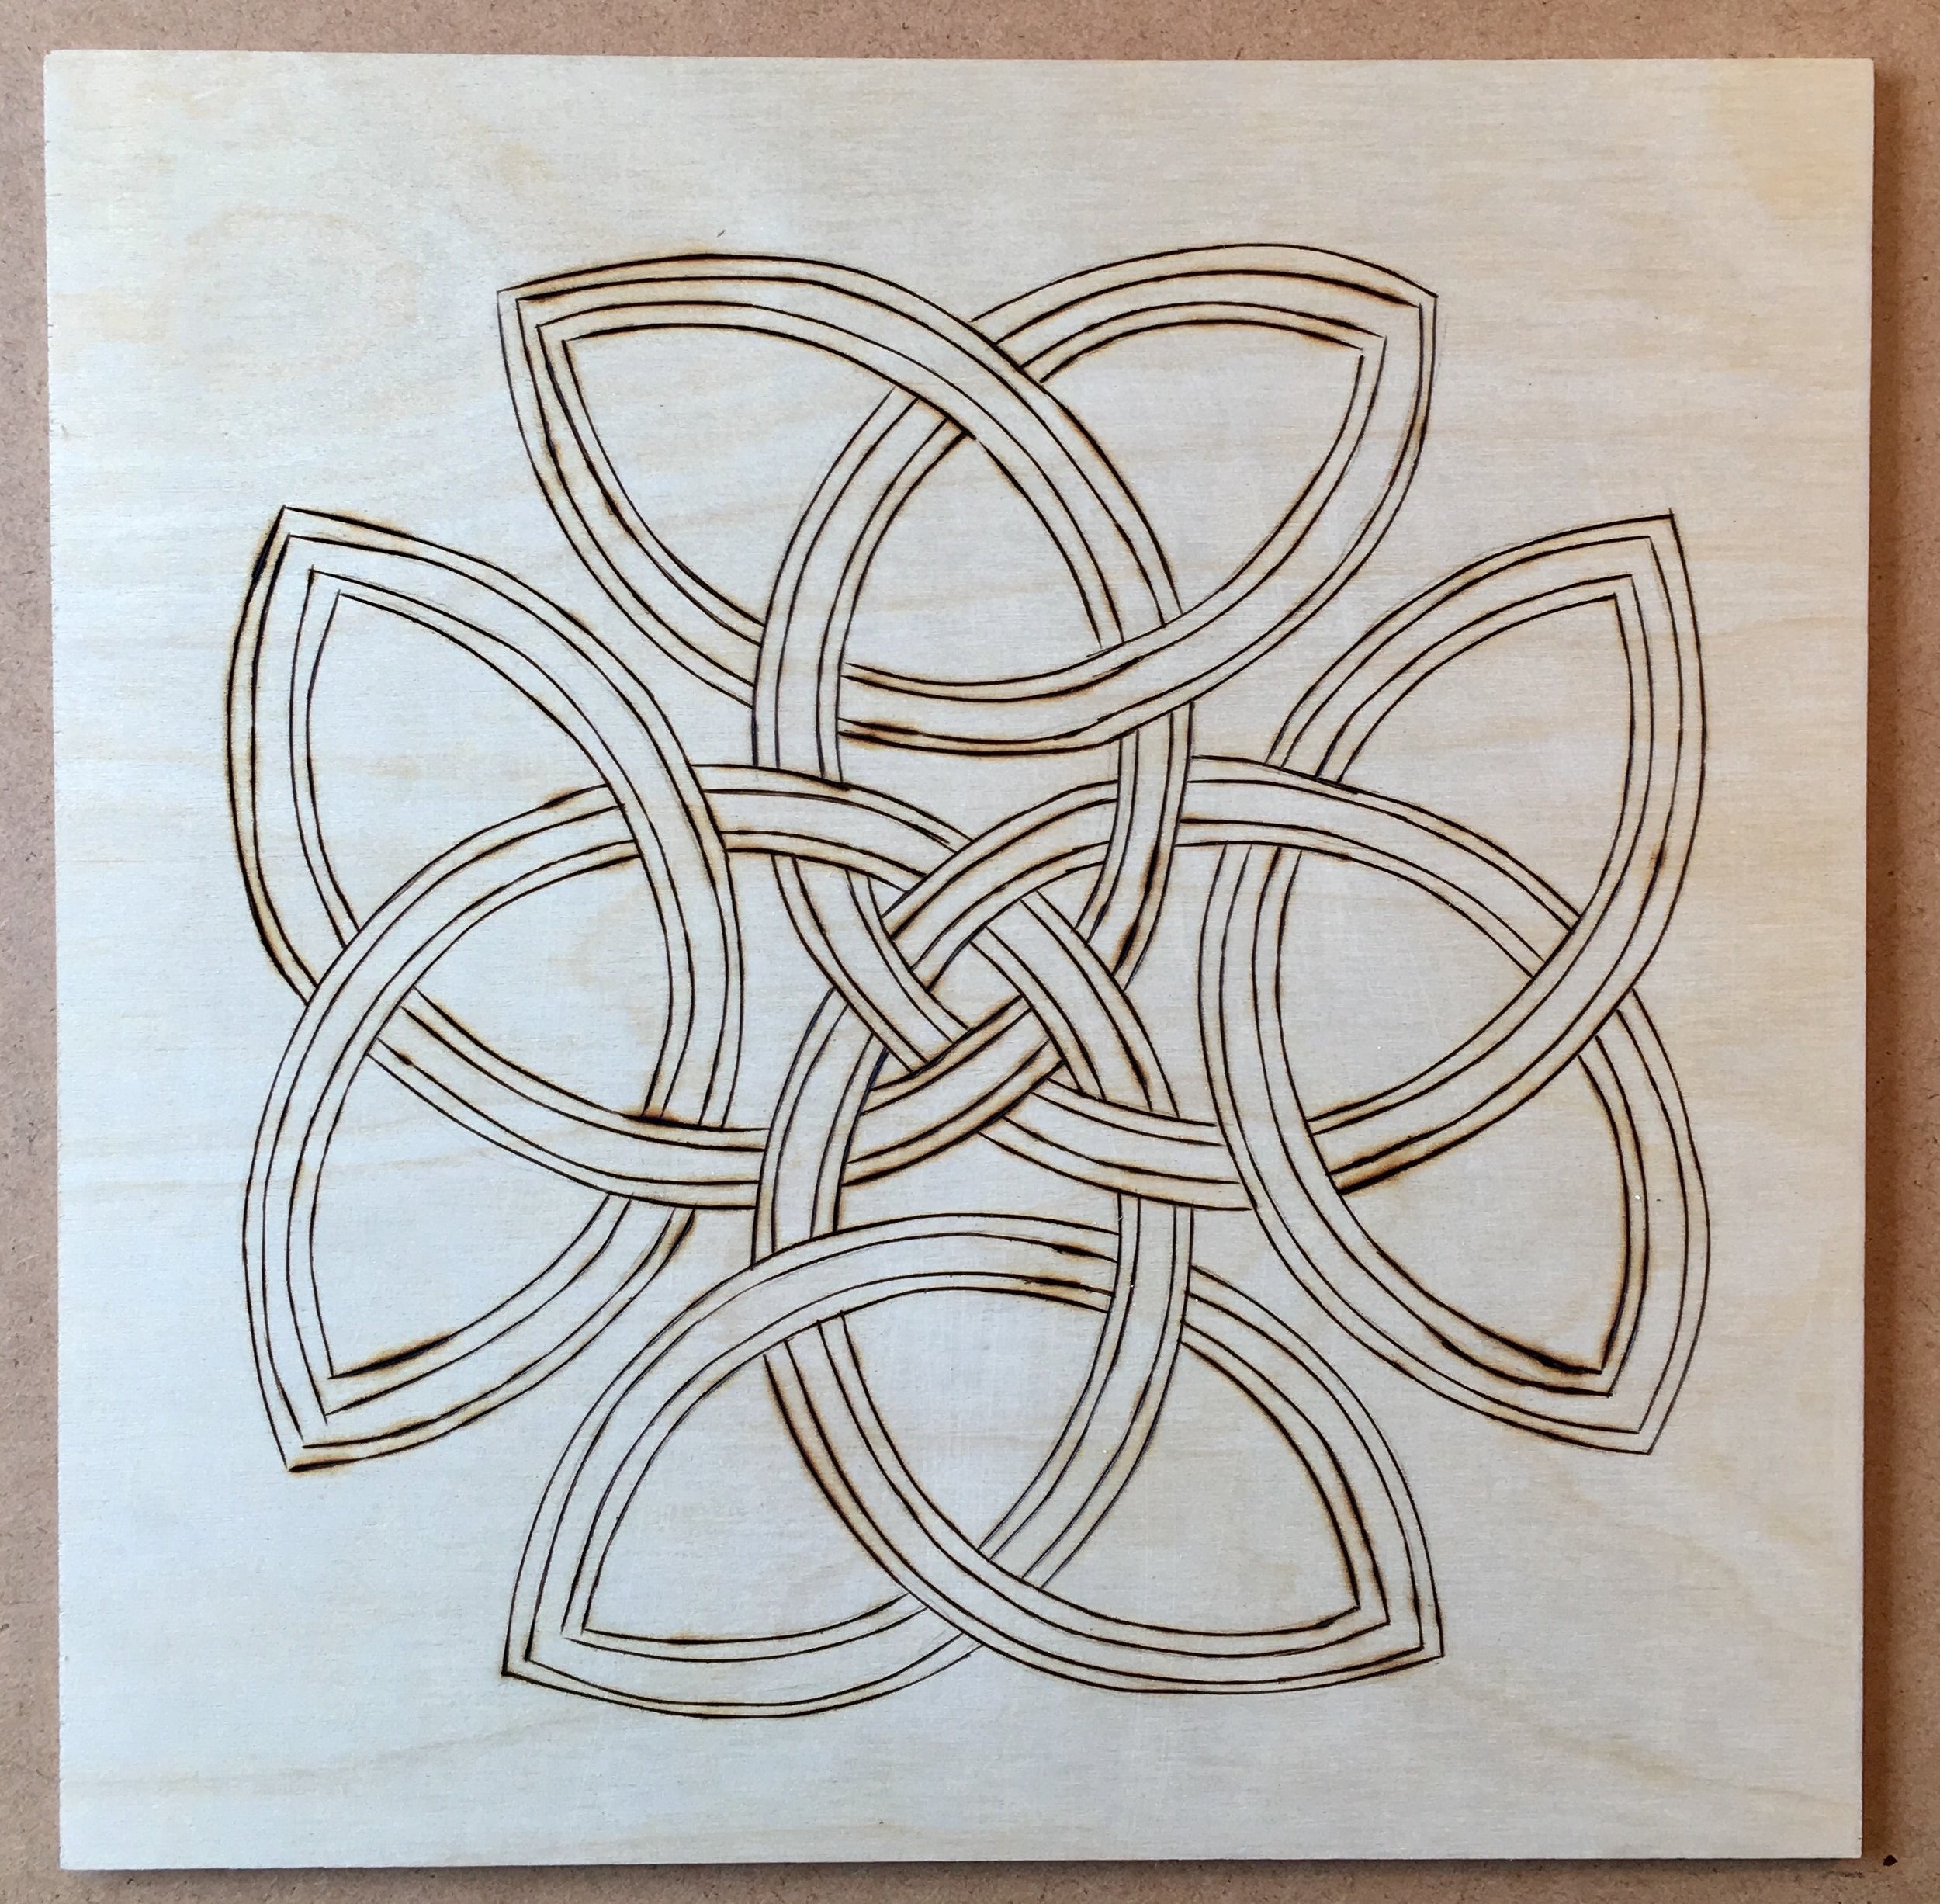
This week I gave wood burning a whirl and chose a Celtic design called a triquetra. I also used watercolor pencils to add color to the border. You can view my tutorial below about how to use the Picture Stencil Maker with Rapid Resizer to make a stencil for this project.
Thank you to AnonMoos for posting this Celtic design. It is free to use for personal or commercial use and you can find it here.

What you'll need:
wood made from birch, poplar, or basswood (do not use any wood product that has glue or chemicals in it)
woodburning kit or a soldering iron
sandpaper
pencil
tape
carbon paper
watercolor pencils
aquabrush or paintbrush
With Rapid Resizer I resized the design to 10 inches because my piece of birch wood was a 12 inch square. This fit across two pages. Then I sanded the surface of the wood so that it was smooth and placed carbon paper (shiny side down) between the stencil and the wood and taped it down. I traced the design with a pencil to transfer the design. You can also shade the back of the paper with a pencil and tape it to the wood to trace the design.

Once the design is stenciled on the wood it is time to burn! If you need to erase any pencil or carbon marks use a white eraser as dyed erasers may stain the wood. Tape the stand for the wood burner to your table so that it will be stable if you place the tool down...it is extremely hot so take care that children and pets won't be near it. If you need to change tips on the tool then wait ten minutes for it to cool down completely or use pliers to carefully twist it off.
Keep a piece of scrap wood beside you (made of the same type of wood that you are working with preferably) to test the heat of the wood burner and also to scrape off the ash that builds up on the tip. As you wood burn the tip will lose some heat so if it stops burning well then wait for a minute and it will heat back up again. When you first place the wood burning tip on the wood it will sink in like quicksand and leave a darker burn, so start gliding it right away. You can see on my project each time that this happened to me!
Go very slowly and pay close attention. Always pull the wood burning tool towards yourself instead of pushing it away, and rotate the wood so that you can work on the area closest to you instead of reaching across the wood. It is not so easy to fix mistakes but you can use sandpaper or an emery board (the type that looks like sandpaper) to sand them off.
I then used watercolor pencils to tint the borders of the Celtic design. Do not use watercolor paint as the paint will flow along the grain of the wood right out of the lines of your design. I added water to the watercolor pencil with an aquabrush so that I could control the amount of water, but using a regular brush is fine too. Just use as little water as possible so that it does not run, and if it does then use paper towel to blot if dry right away. You can also use sandpaper to erase any color that runs too.

I hope you are inspired to make a Celtic wood burning project too!
~Melissa