Lettering with White Ink
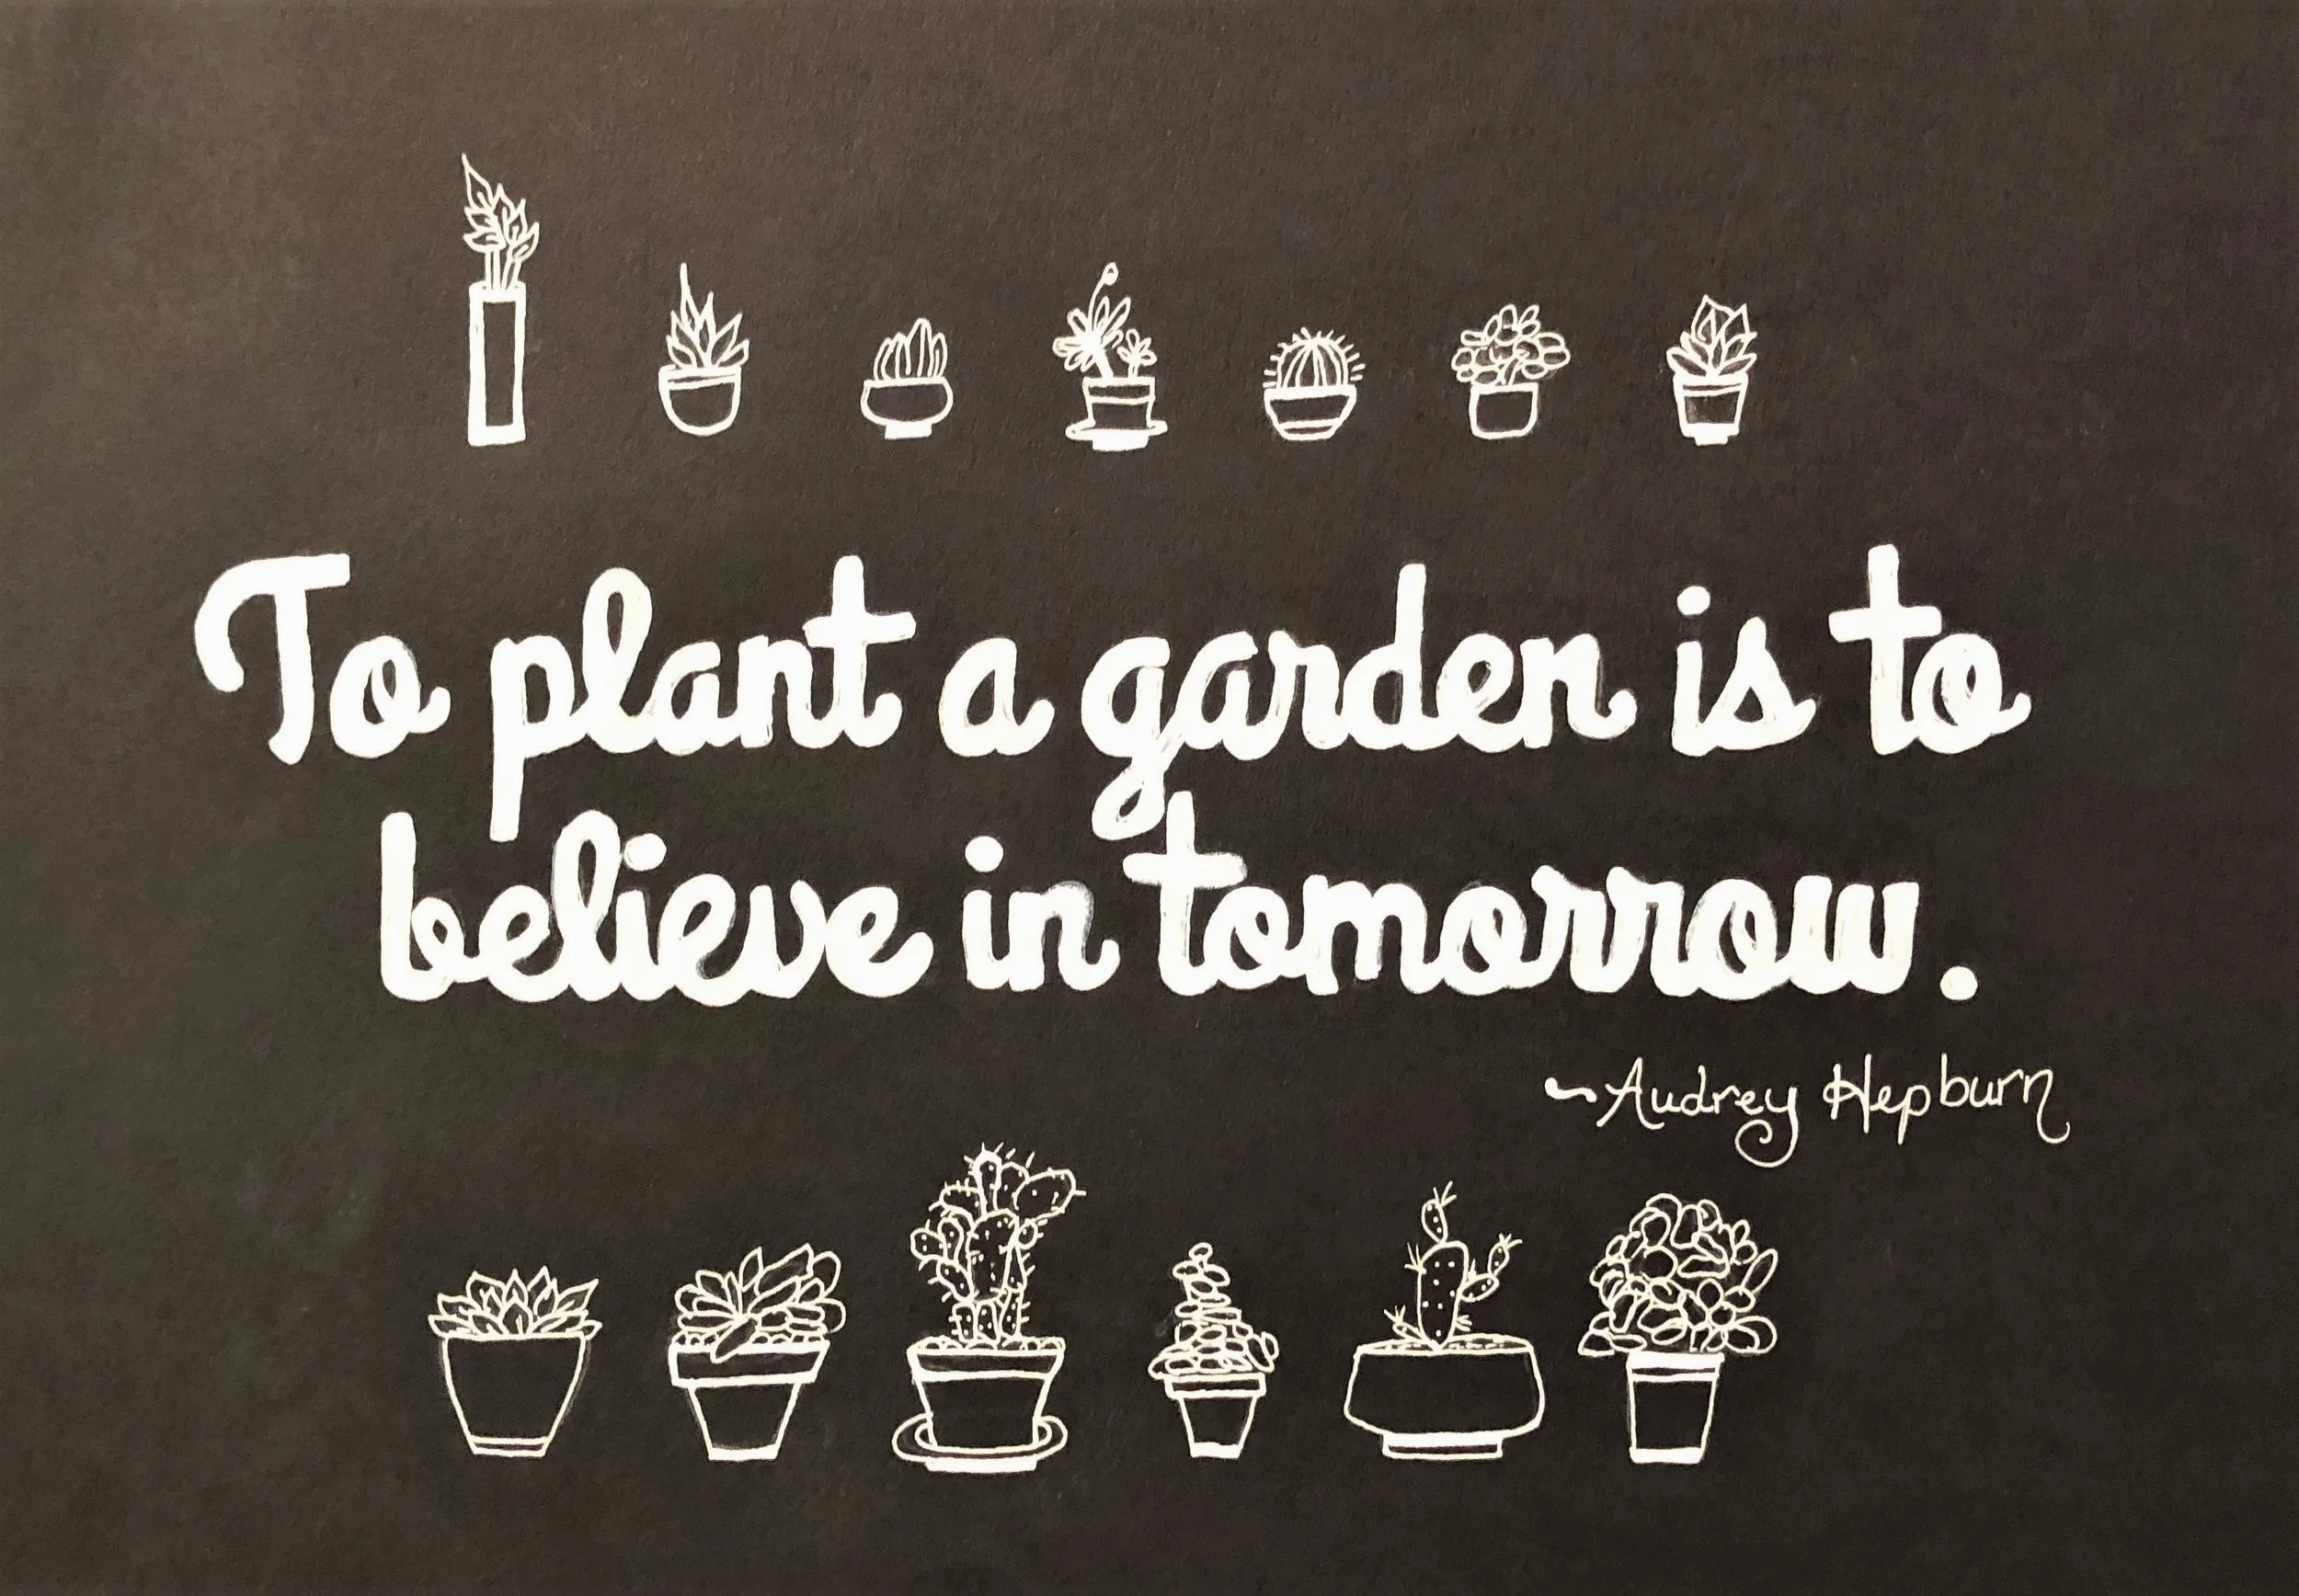
Hi Everyone! This week I created a lettering project with white ink, using the Designer tool and extensive font collection from Rapid Resizer. This project is great for making greeting cards, wedding decor, signs, journal art, and quote designs.
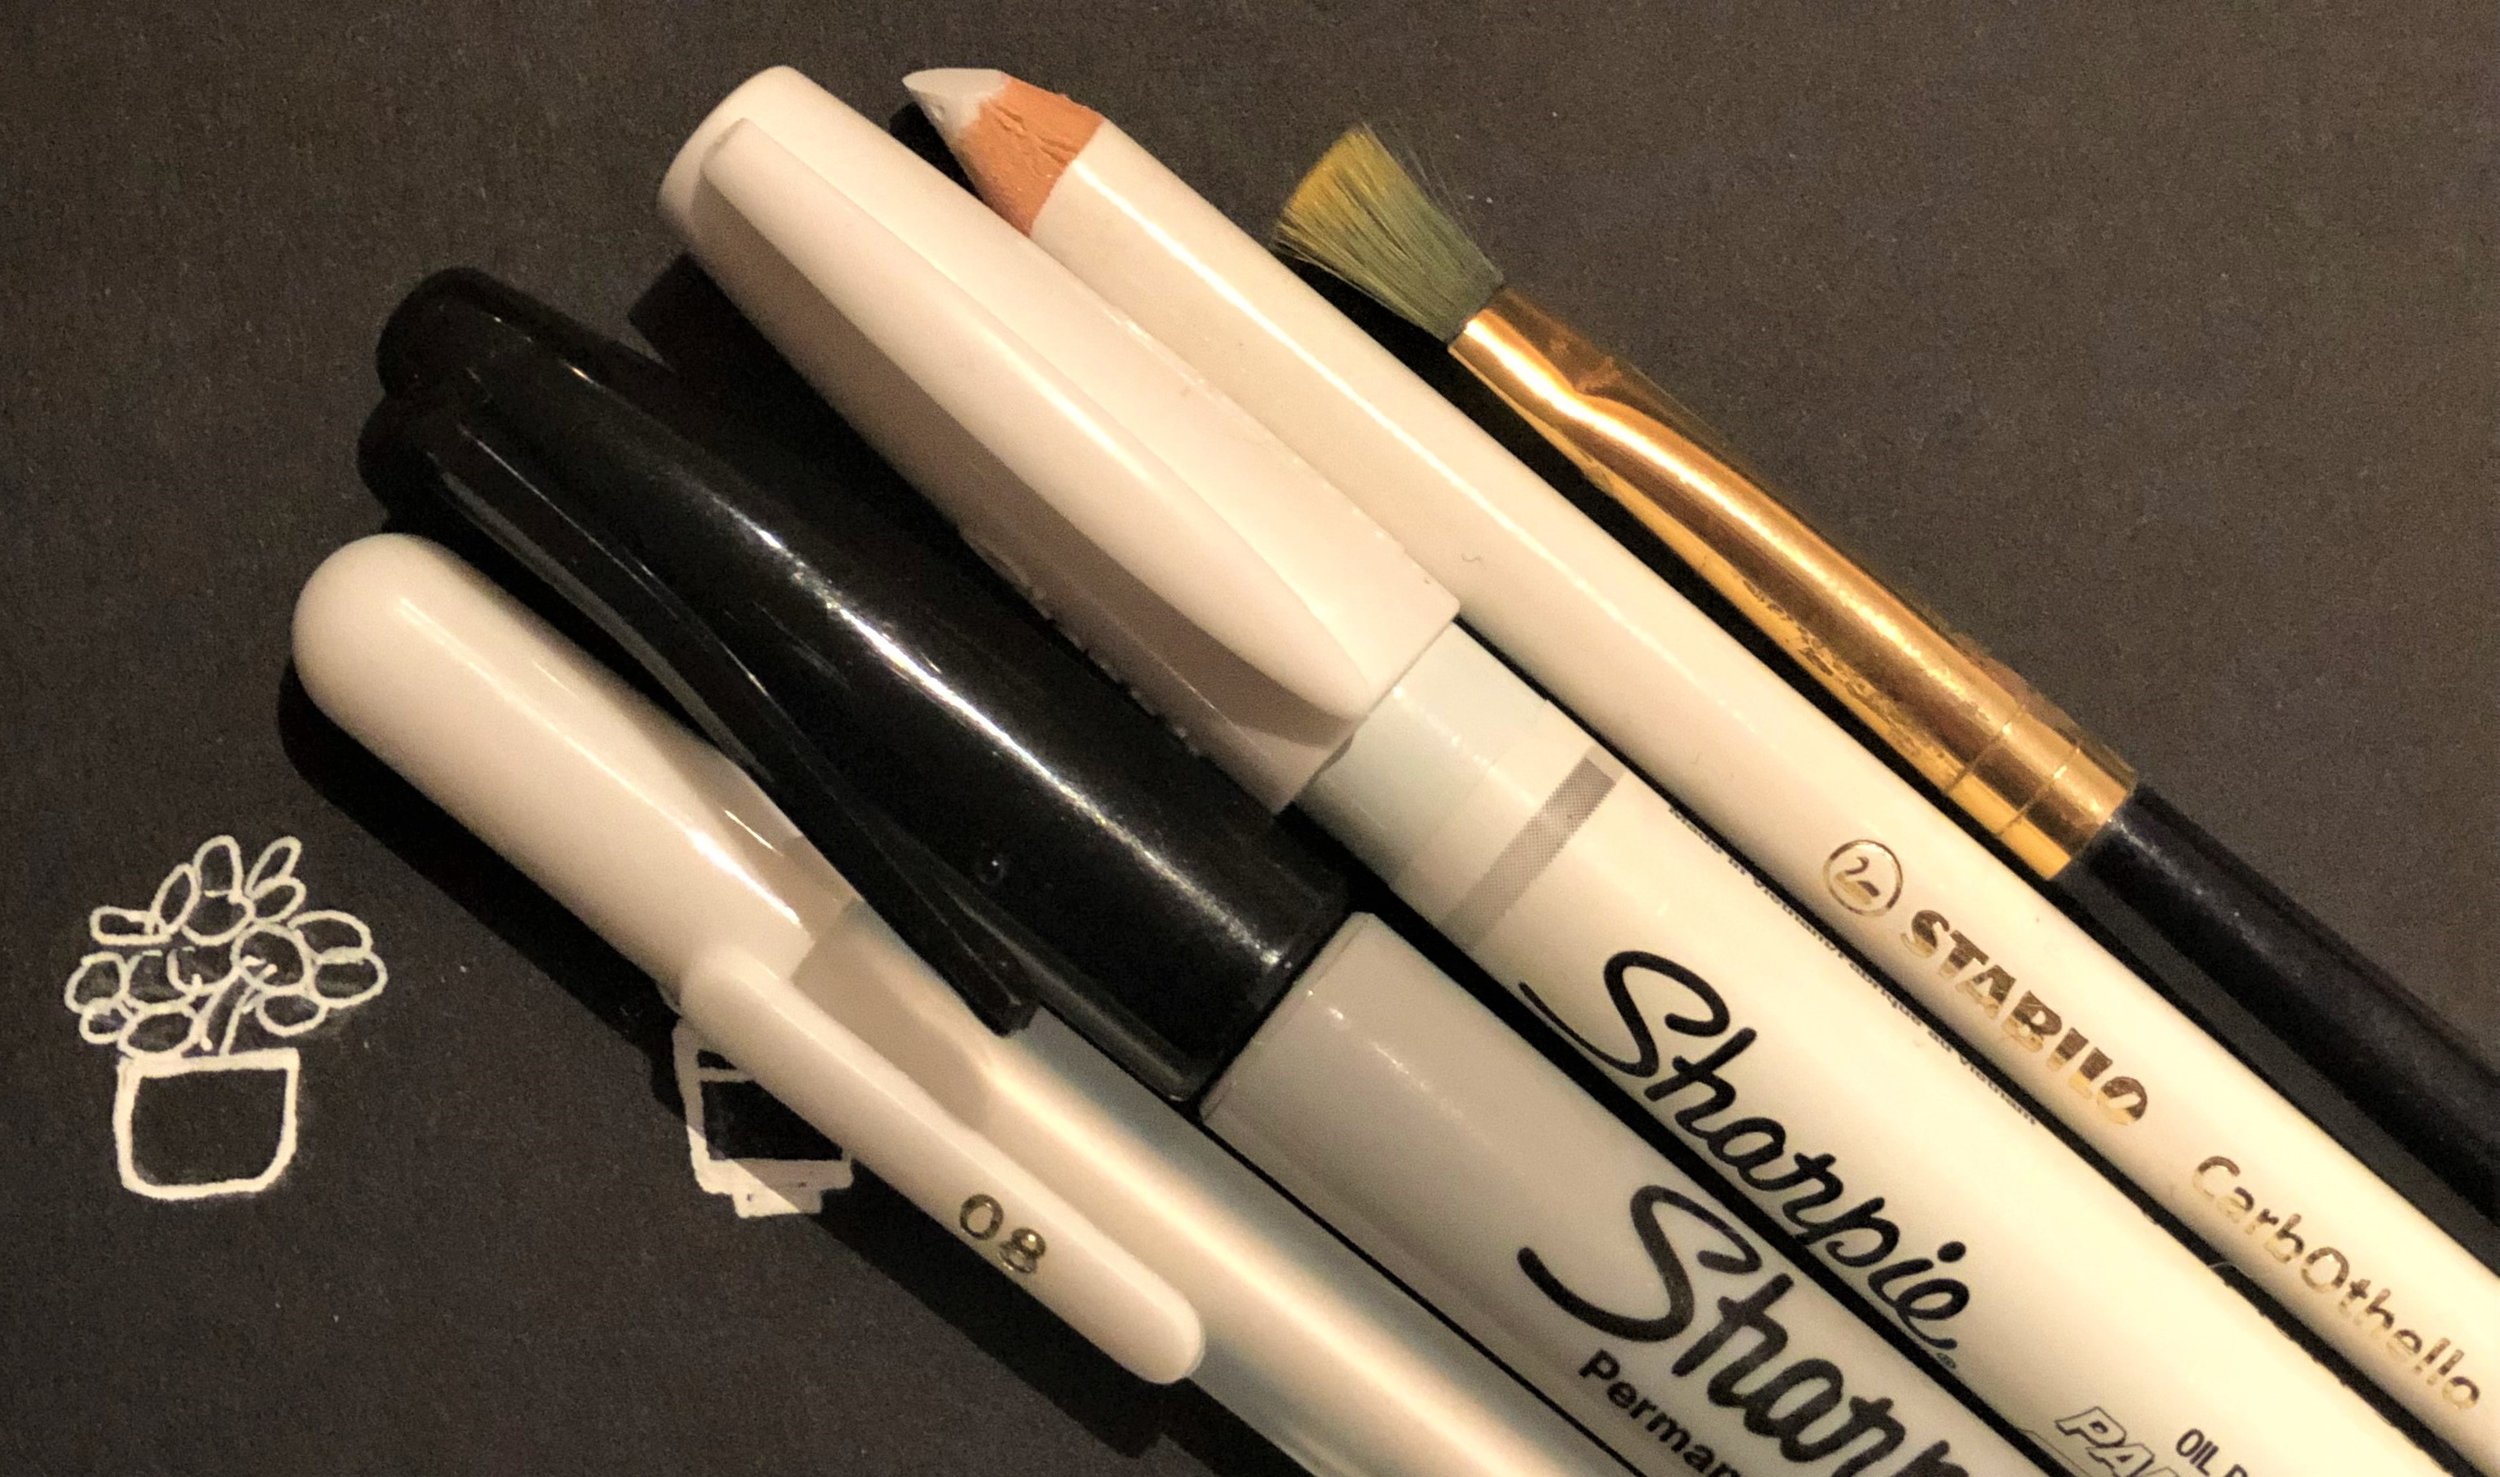
What you’ll need:
Black paper
White ink pen (I used a Sakura Gelly Roll and an oil-based Sharpie)
White chalk-pastel pencil (or chalk)
Pen or pencil for tracing
Low-tack tape (optional, but useful)
Paintbrush
Black Sharpie
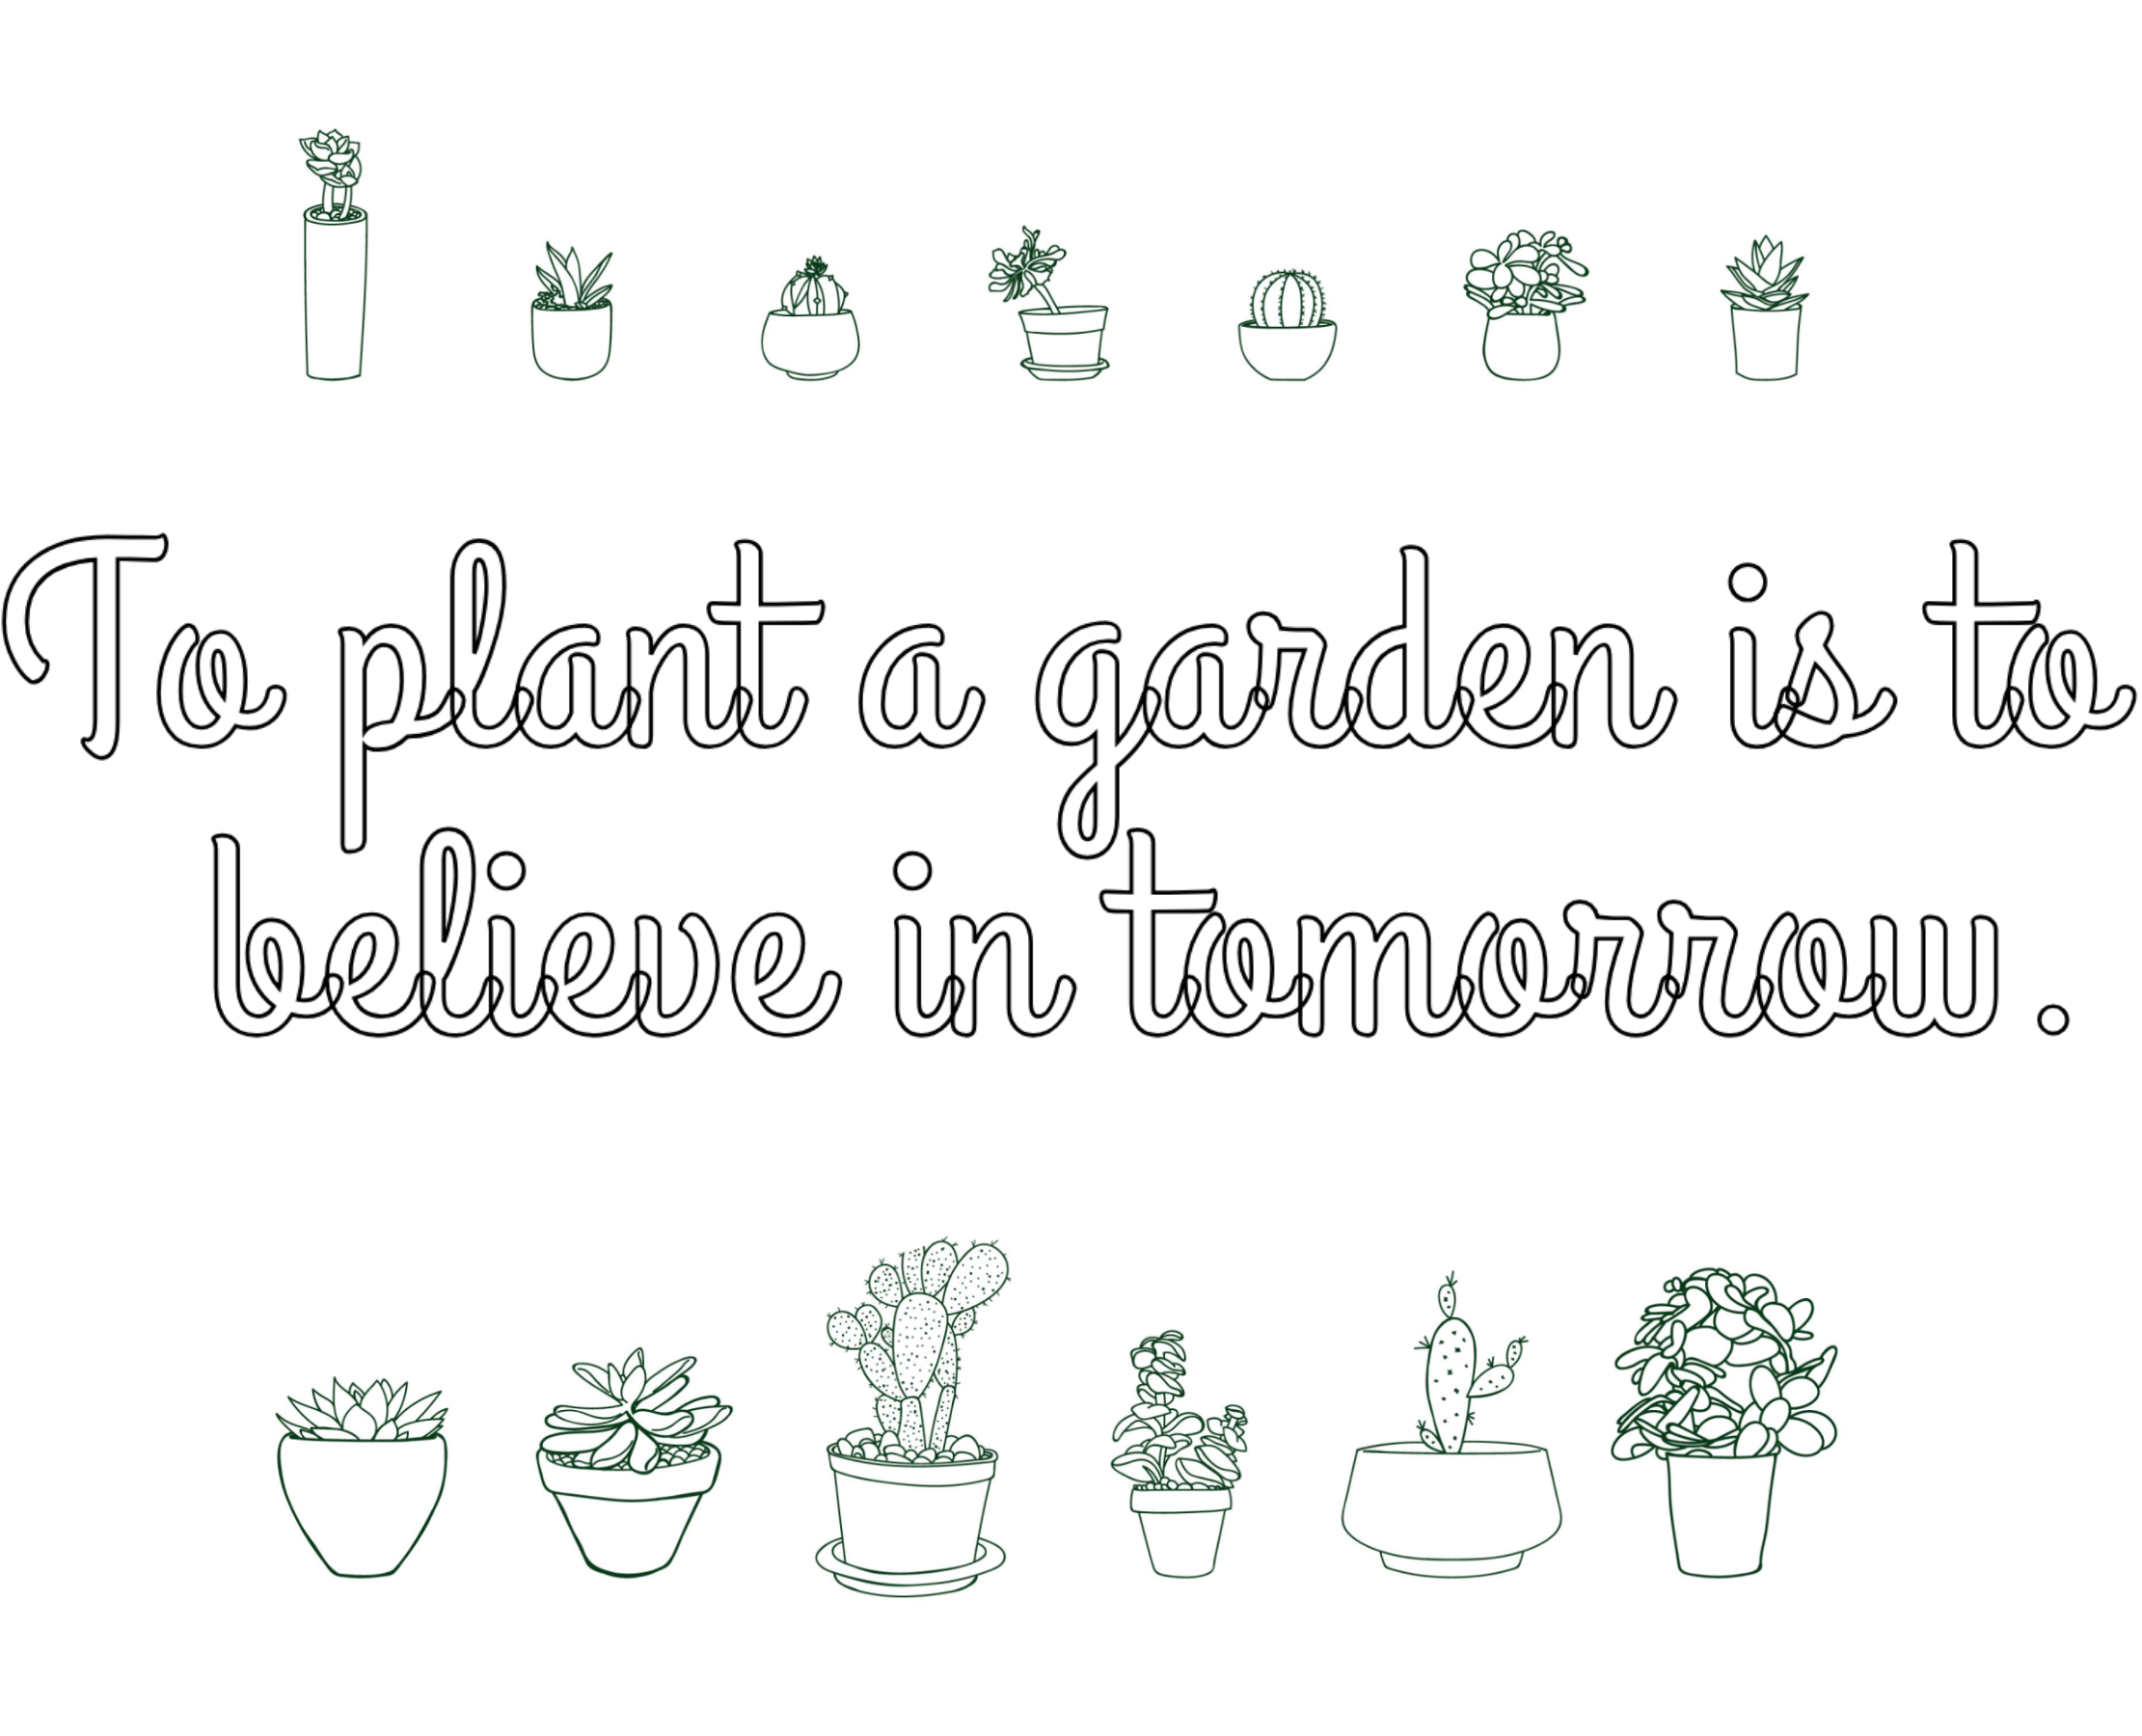
I got this great image of succulents and cacti from from Pixabay, which can be used or modified for commercial use. You can download it from the source here.
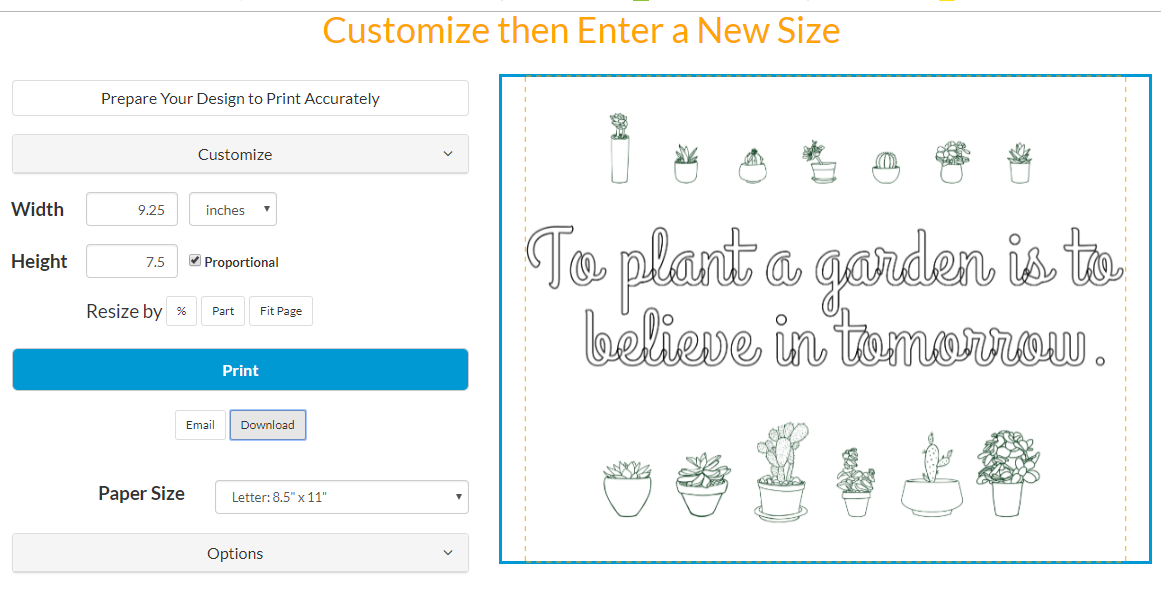
I imported the image into the Designer on Rapid Resizer and used the erase tool to remove the middle section of plants. Then I clicked Add Text to add this quote by Audrey Hepburn: “To plant a garden is to believe in tomorrow”.
I chose the Grand Hotel font and split the quote into two lines by clicking the Enter button on the keyboard halfway through the sentence. In the Design tool, the fonts are all listed in one box alphabetically and are not separated by categories as they are in the free Letter Stencil Maker.
I chose to write the authors name free hand, but you can click to Add Text again to create another line of text if you want it to be different size or font type.
The black paper was only 9x12 inches so I did not need to resize my design for this project. If you try out this design and need to resize it, arrange it so the page lines are between the plants as it will be easier to transfer the image.
If you want to use this design with the quote just right-click on the image below to save it and use it as you like.
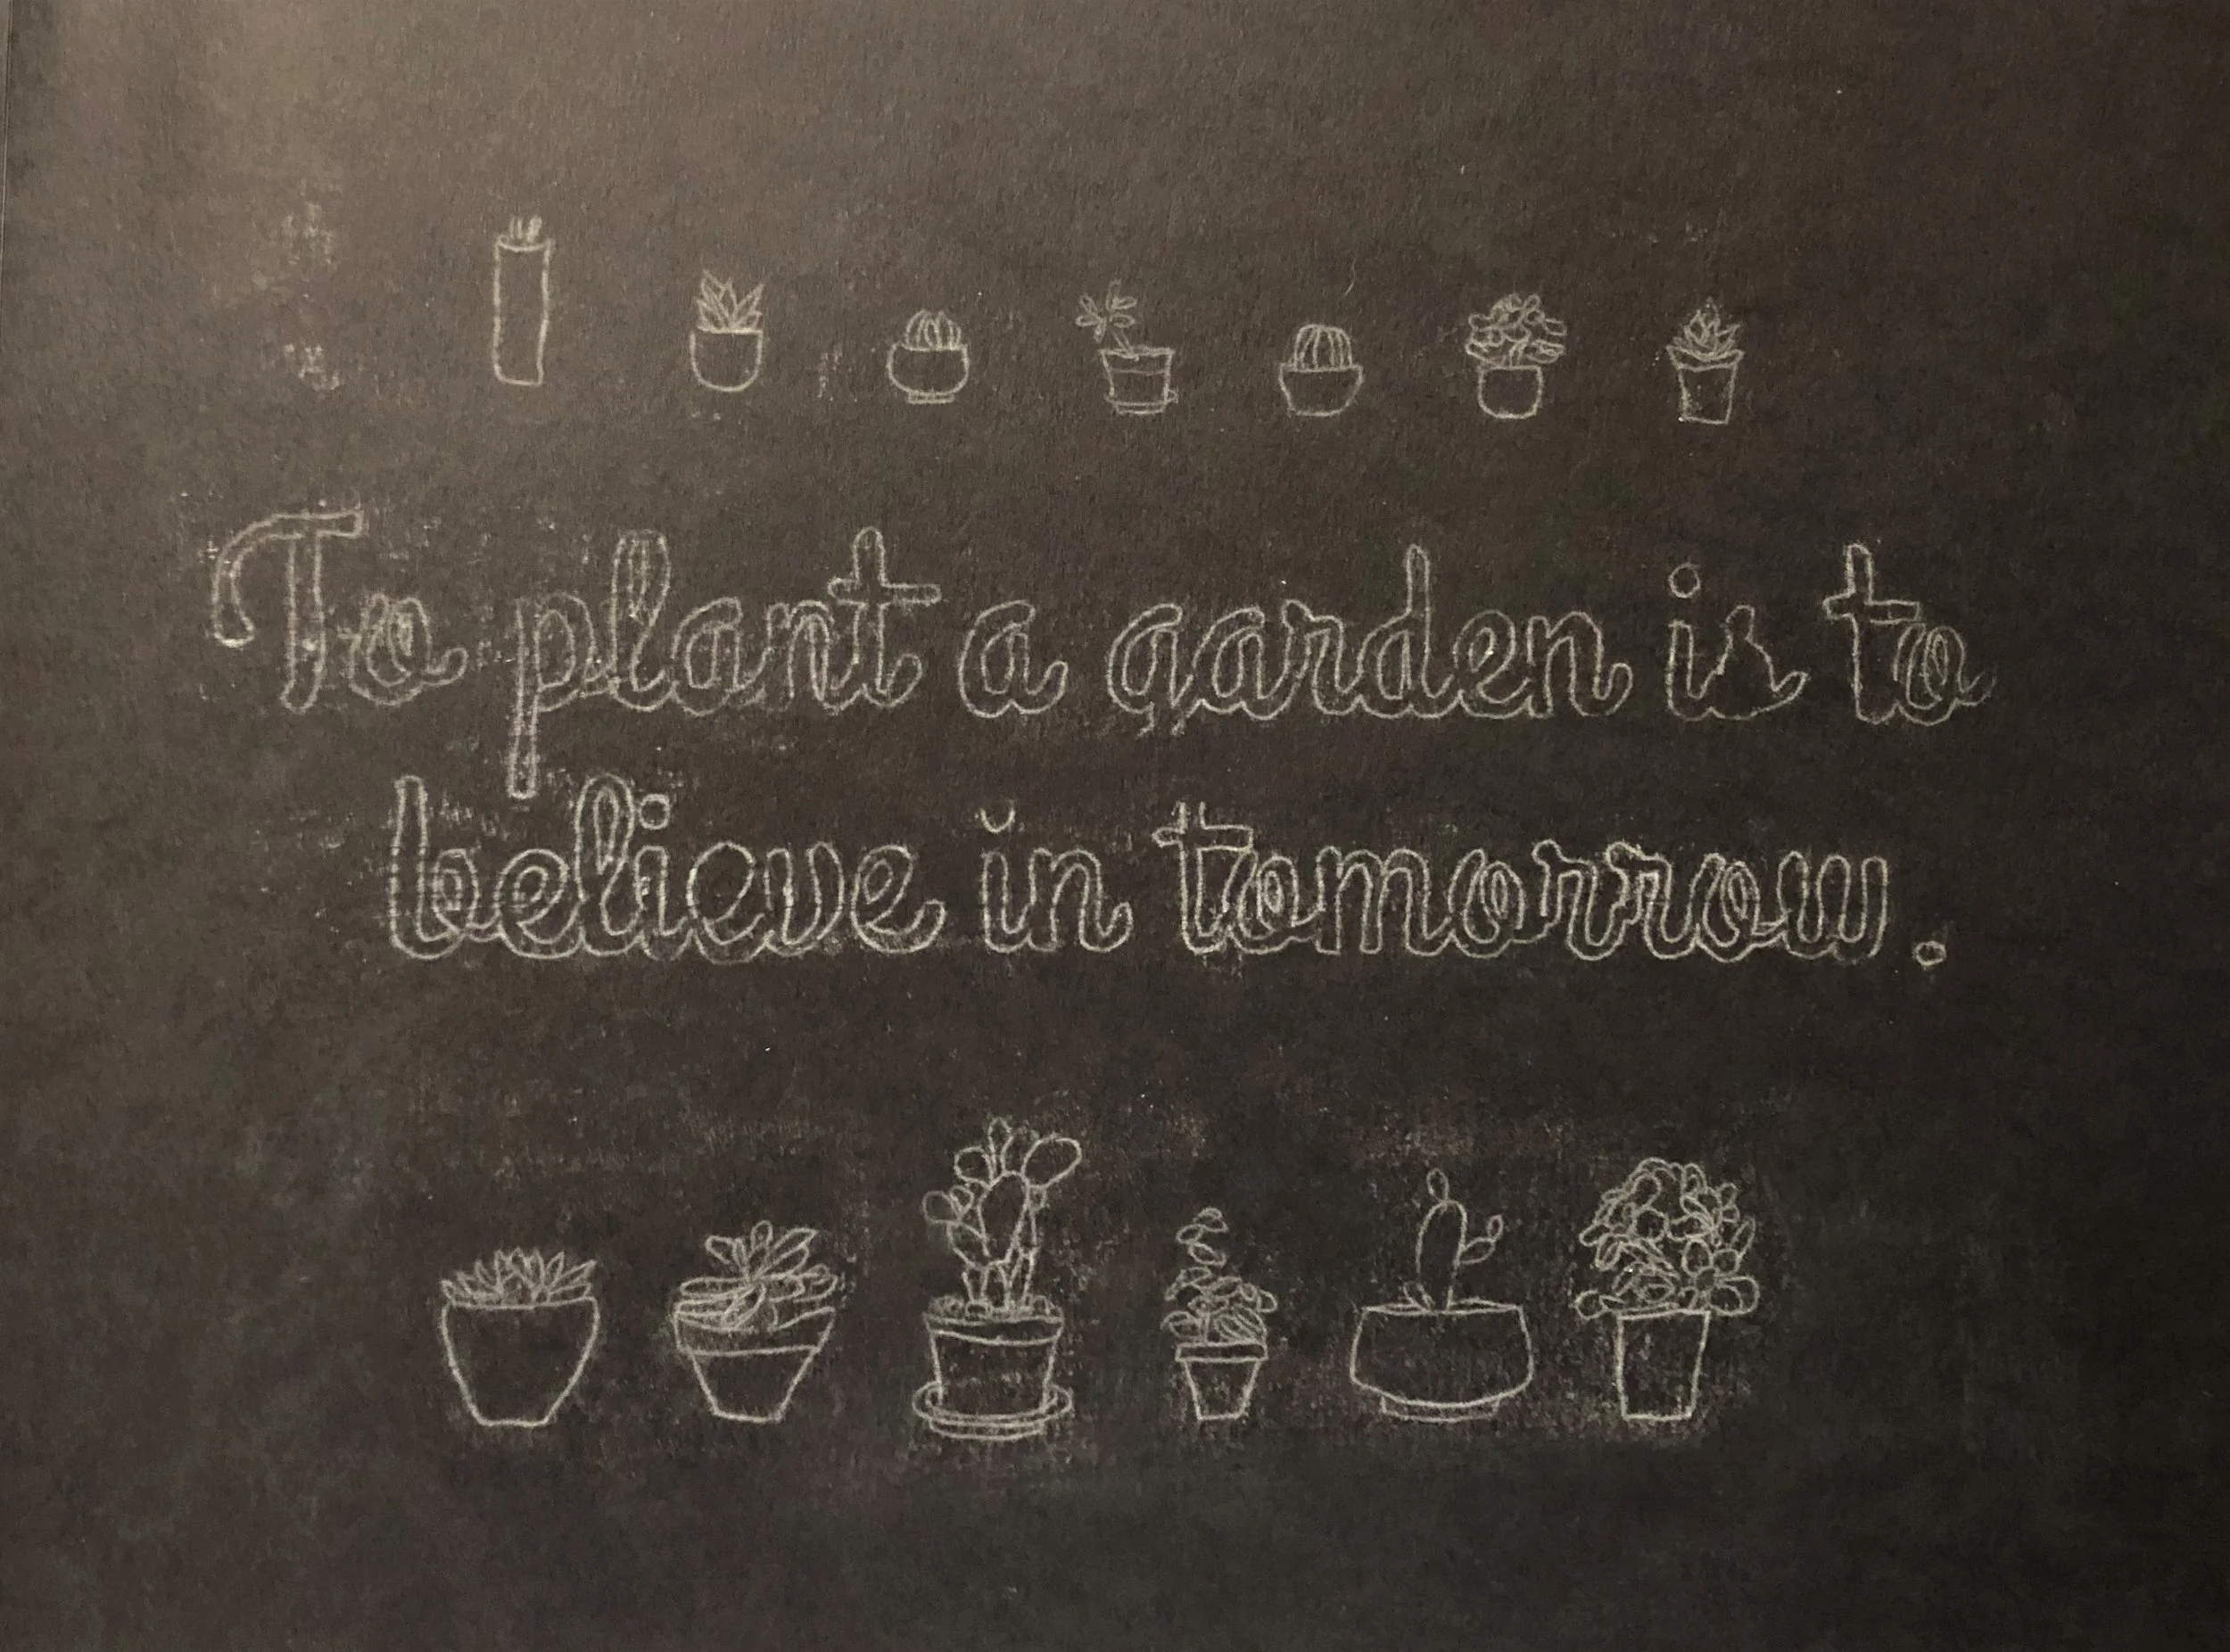
Next, I shaded the back of the printout with the white chalk pastel pencil. You can also use chalk (and if you are putting this design on a chalkboard then only use chalk!) but I find that the chalk pastel pencil creates less dust on the paper.
Then I taped it shaded-side down to the black paper, lightly with low-tack tape so that it wouldn’t rip when the tape is removed. I used a red pen to trace the lines of the succulent plants and lettering as it is easier to keep track of what areas of the image have been transferred.
Once the pattern was transferred, it was time to fill in the chalk pastel lines with white ink. Usually I work from the top of the page downwards so that I don’t smudge anything with my arm as I work. However, in this case I filled in the bottom row of plants first as the pastel would have disappeared by the time I got there otherwise.
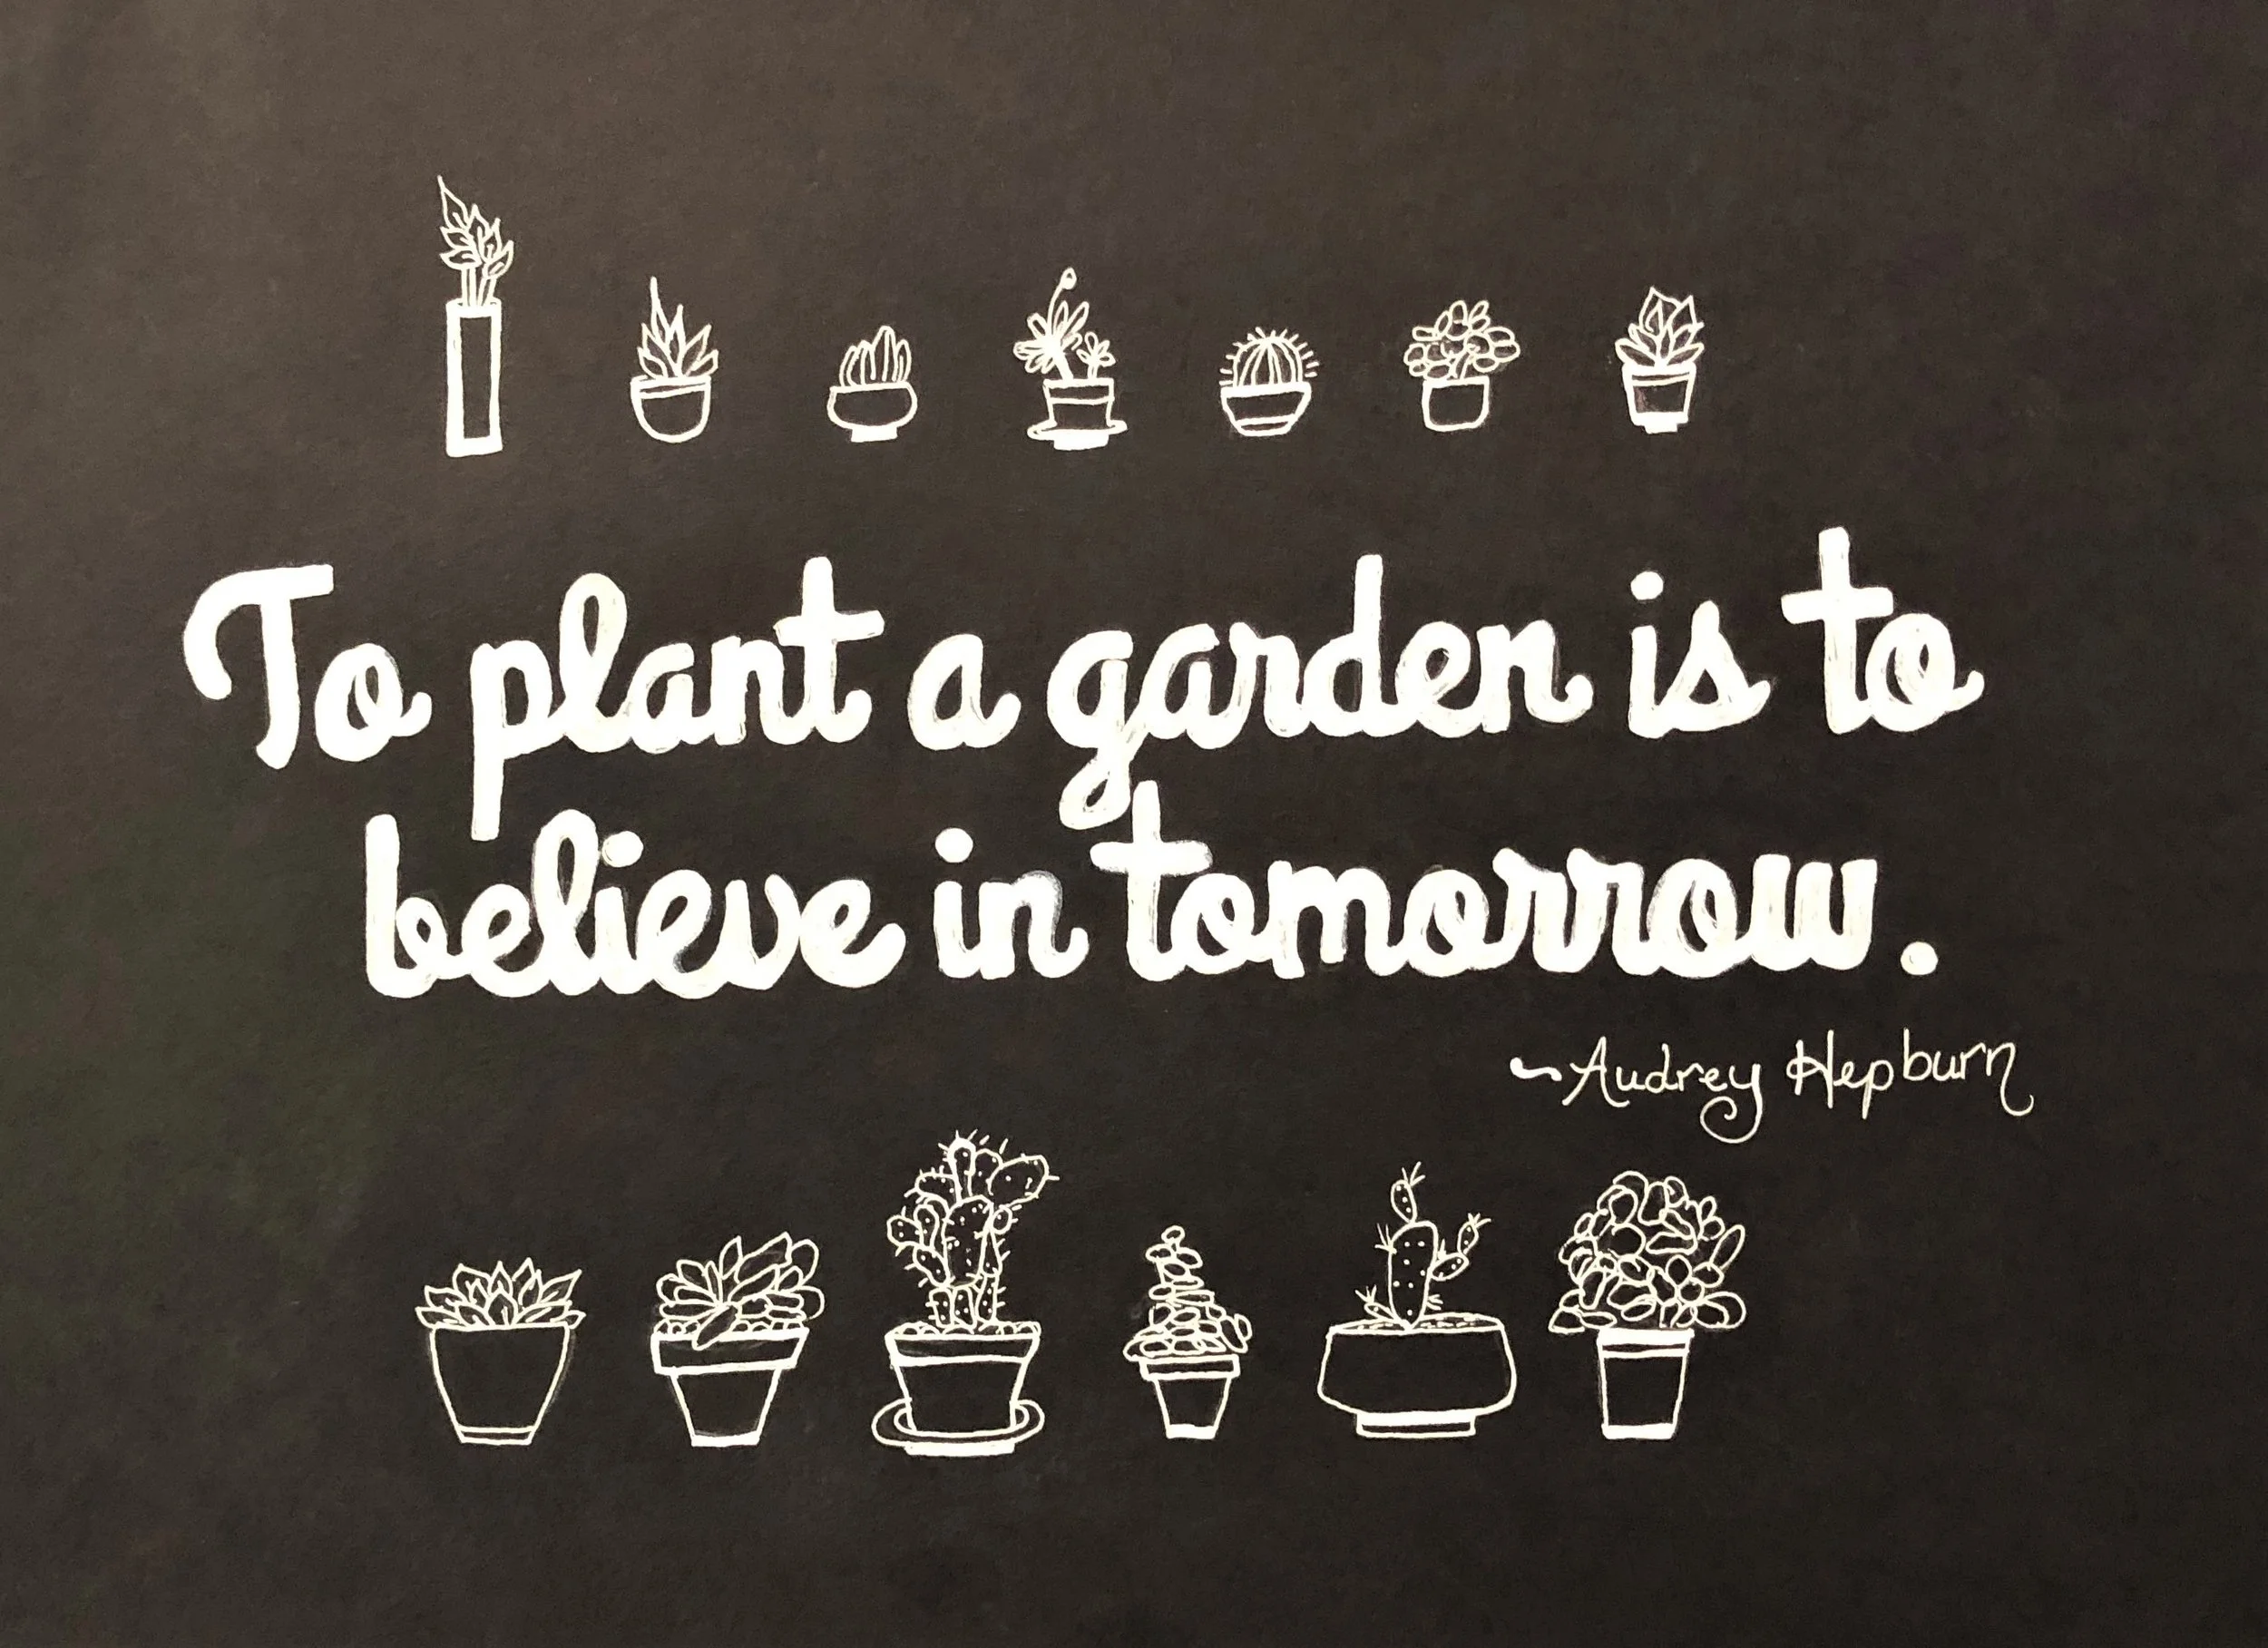
I drew the plants with the Gelly Roll pen and lined the letters. I filled the letters in with the Sharpie as it had a much thicker tip. I have used a lot of different types of white ink pens and they all work quite differently so it is worth experimenting with which ones you like best.
Once all of the lines were filled in with white ink, I gave it a few minutes to dry and then used a dry paint brush and rubbed off any of the remaining dust from the chalk pencil. If there are any accidental white ink splatters, you can use a black Sharpie marker to cover them up.
I hope you feel inspired to make a lettering project, and as always feel free to share any photos of your creative projects with us. Please comment below with any comments or questions.
Happy creating!
~Melissa

