
How to Paint Celtic Stepping Stones

Hi Everyone! This week I chose to decorate the garden with some stepping stones. I love Celtic stencils so I created some in 10 easy steps. Just click on the video below to see how you can make these too:
You will need:
Celtic design
Stepping stone
Thick paper (I’m using watercolor paper), cardboard, or other stencil material
X-acto knife
Cutting surface (I use a piece of glass from an old picture frame with tape along the edges)
Glue stick
Spray paint
Acrylic paint
Paintbrush
First I downloaded some Celtic designs from Pixabay that are free for commercial use. You can click on the images below to save them, or find these designs and more at the source here: https://pixabay.com/users/35393-35393/


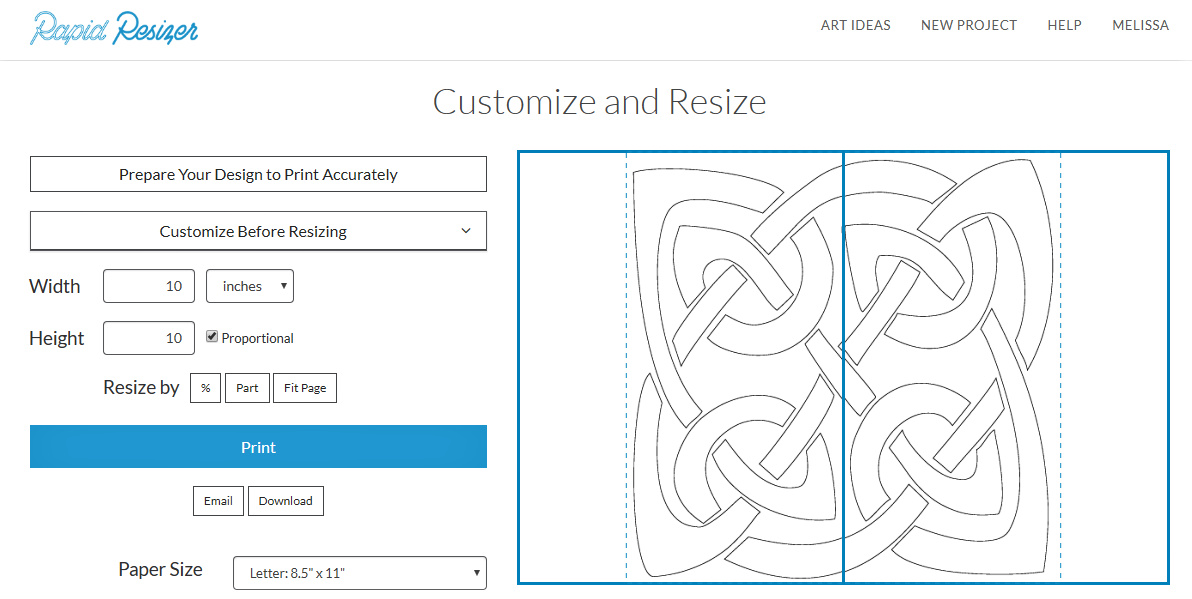
I uploaded the first design to Rapid Resizer and used the Save Ink tool to make a line drawing of it. Then I set the measurement to 10x10 inches so the image would print out across two pages so that it would fit the stepping stone.

I printed the pattern out and taped the pages together and then glued it to the thick paper I chose to use for the stencil. Then I placed a piece of glass below the paper as a cutting mat before using the x-acto knife to remove the pieces (be sure it is sharp so that it doesn’t tear).

Then I placed the stencil on the stepping stone to spray paint it.
Side note: I was concerned that the paint would bleed under the stencil because the surface of the rock was uneven so I originally tried using plastic with an adhesive backing as the stencil material for this project, which ripped when I was cutting out the design no matter how careful I was. Next I used a cardboard stencil and spray paint, but sure enough the paint ran and didn’t create clean lines on the stone. So that is how I came up with this method of using both spray paint and hand painting instead. However, feel free to try out either of those techniques and see if they work for you!
I spray painted over the stencil lightly so that the paint would not bleed under the shapes of the stencil, and then used acrylic paint and a brush to go over the pattern that the spray paint created.


And then I let it dry in the sun while I painted another one.

I hope you enjoyed this tutorial and that you create some of your own stencils to spruce up your yard now that summer is here. Click the button below so that you can get started with making a Celtic stencil.
Please post any comments or questions you have and as always, please share your projects with us if you would like to be featured on our blog and in our newsletter.
Happy creating!
Melissa